 When we launched our hosted Team Foundation Server 2010 Build service, an active outbound Internet connection was not available. But after receiving many requests, we made plans to perform an infrastructure-related update that would accommodate the needs of our customers. We have been working tirelessly behind the scenes and I’m happy to announce that the project has been completed – you can now connect to an outside system!
As a showcase, I thought I’d do a small write up on deploying directly from one of our TFS Build servers to a server in our web hosting environment so let’s go over the steps that you’ll need to perform.
1. Use the Team Foundation Server Hosting Support Portal and open a request with the technical support team to get Web Deploy 2.0 installed on your TFS Build server.
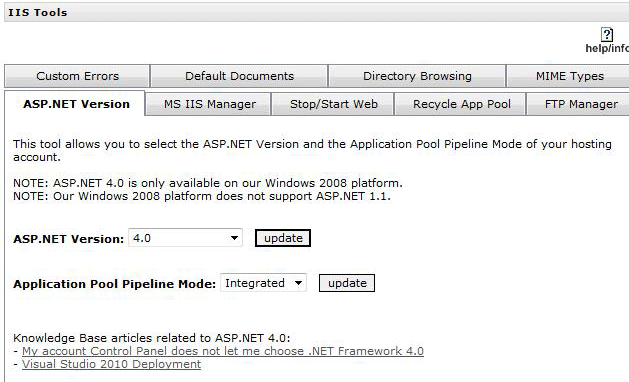
2. After we’ve completed the installation, access the IIS Tools utility in your DiscountASP.NET Control Panel (web hosting) and make sure that the version of the .NET Framework is selected.
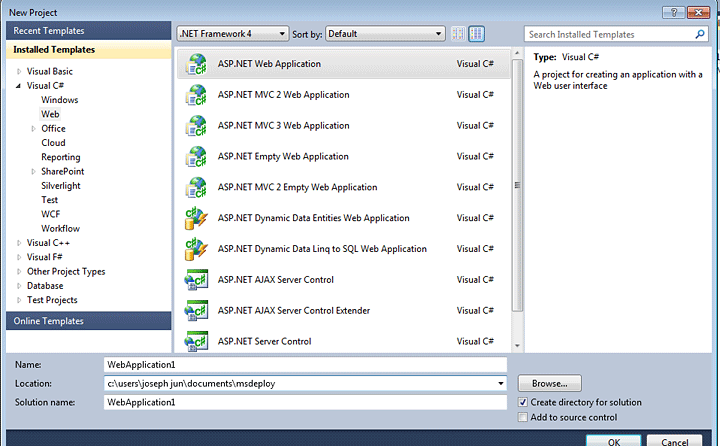
3. You can use an existing Team Project but for this article, we’ll use a C# Web Application.
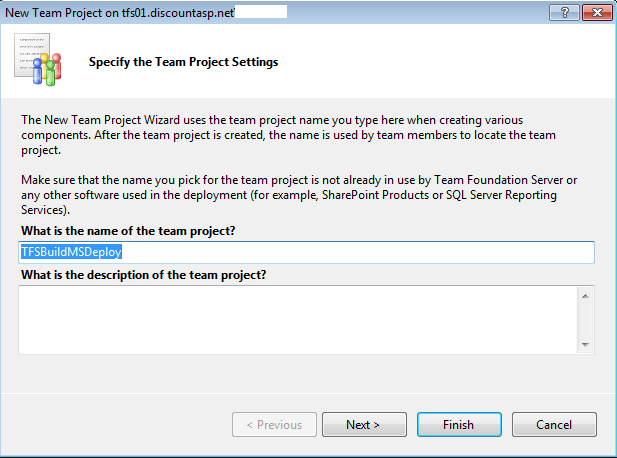
4. After you’ve created the Web Application Project, connect to your Team Foundation Server 2010 server. If you’re a new user, follow the steps available in the DiscountASP.NET TFS Knowledge Base for configuration instructions.
5. Create a new Team Project. In the event that you need a reference, use the steps in our Create a new Team Project using Visual Studio 2010 article.
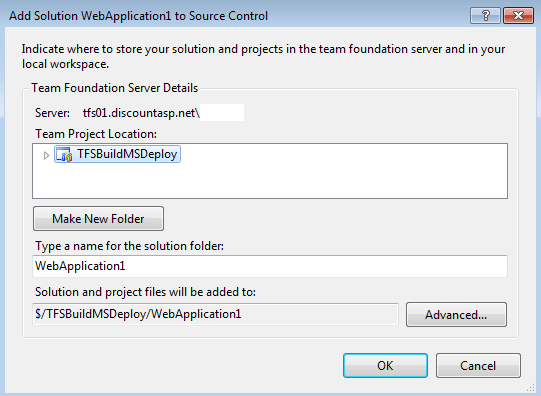
6. Add the Visual Studio project that you’ve created to source control. For help with this particular step, you can start from step number five in our Getting Started with Team Foundation Server guide.
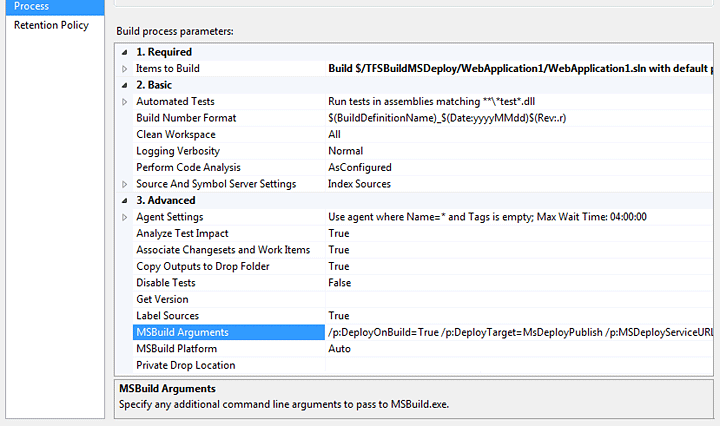
7. You can modify an existing Build Definition or you can use the steps in the How to create a Build Definition article to create a new Build Definition and when you reach the Process step, click on Advanced and locate MSBuild Arguments.
8. In order to proceed, you’ll need your web server information which can be found on the Account Information page. You’ll need to prepare the following line and then add it to the MSBuild Arguments:
/p:DeployOnBuild=True /p:DeployTarget=MsDeployPublish /p:CreatePackageOnPublish=True /p:DeployIisAppPath=”HostedDomainName/myapp” /p:MsDeployServiceUrl=WebServerName.discountasp.net:8172/MsDeploy.axd /p:username=AccountUserName /p:password=AccountPassword /p:AllowUntrustedCertificate=True
9. Add the information to the TFS Build Definition, save the changes and then execute a build.
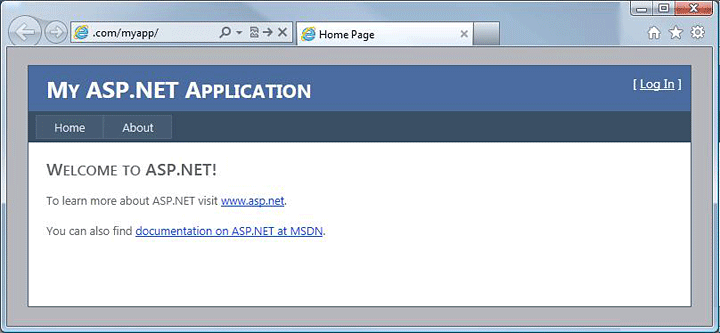
10. Once the build has completed, access the deployed application.
While the example that was provided targeted a hosted site specifically, you are not limited to just the DiscountASP.NET servers, you can deploy to any system that’s been configured to receive connections.
If there are any technical questions you might have, feel free to contact the support team.

I just upgraded to VS2012 and TFS 2012 with the same build scripts. The project compiles, but MSBuild seems to just ignore the deploy parameter and do nothing.Any ideas?