![]() Now that we have launched ASP.NET Core 1.0 on DiscountASP.NET, here is a sample tutorial on how to successfully publish an application. First, make sure you have installed the pre-requisites on your computer to support an ASP.NET Core 1.0 application within Visual Studio. In this guide, I am using Visual Studio 2015 Community Edition.
Now that we have launched ASP.NET Core 1.0 on DiscountASP.NET, here is a sample tutorial on how to successfully publish an application. First, make sure you have installed the pre-requisites on your computer to support an ASP.NET Core 1.0 application within Visual Studio. In this guide, I am using Visual Studio 2015 Community Edition.
Preparing a Sample Application
- Launch Visual Studio.
- Select File -> New -> Project (CTRL-SHIFT-N)
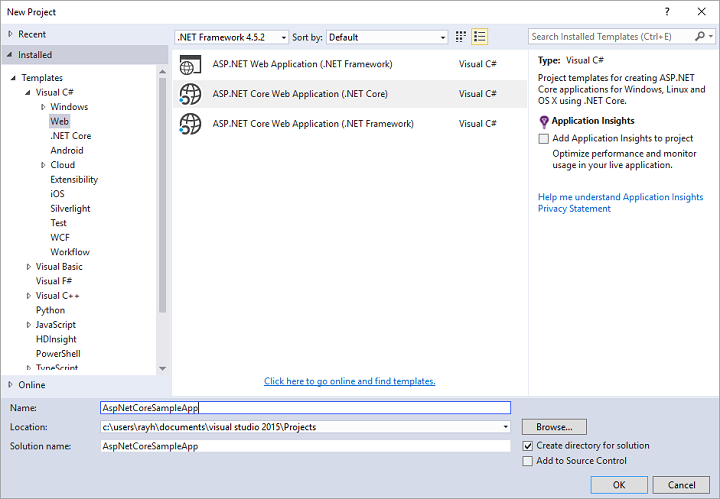
- Select ASP.NET Core Web Application (.NET Core), name your application and click on OK.
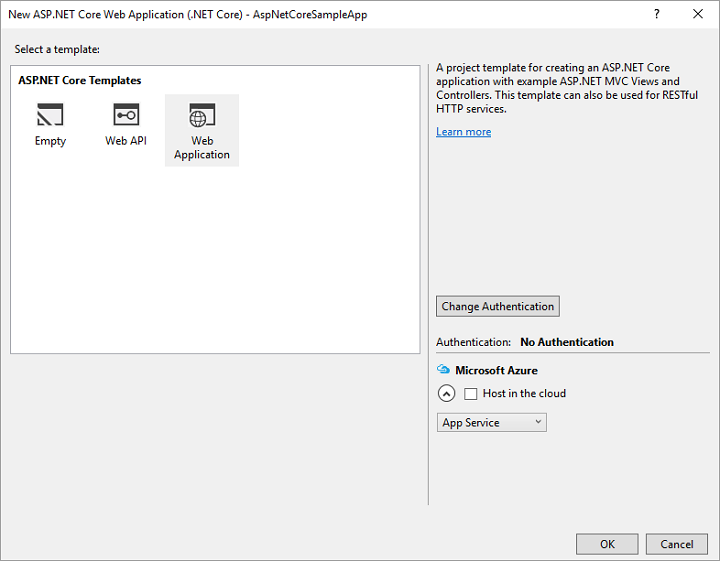
- For the ASP.NET Core Template, select Web Application and click on OK. Immediately, in the Solution Explorer window on the right hand side, a yellow pop-up window will open saying “Restoring Packages.” Wait until that finishes as the references for your application are being downloaded and added to your solution.
Publishing the Application via Web Deploy
- Log into your DiscountASP.NET Control Panel.
- Click on the Account Info/Edit link under the Account Management section in the menu to your left.
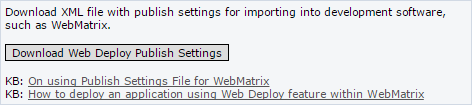
- Scroll all the way to the bottom and click on the Download Web Deploy Publish Settings.
- Download this PowerShell script from GitHub and place it in C:\Program Files (x86)\Microsoft Visual Studio 14.0\Common7\IDE\Extensions\Microsoft\Web Tools\Publish\Scripts\1.1.0\publish-module.psm1 or wherever you installed Visual Studio to (e.g. if you changed the drive letter to E:)
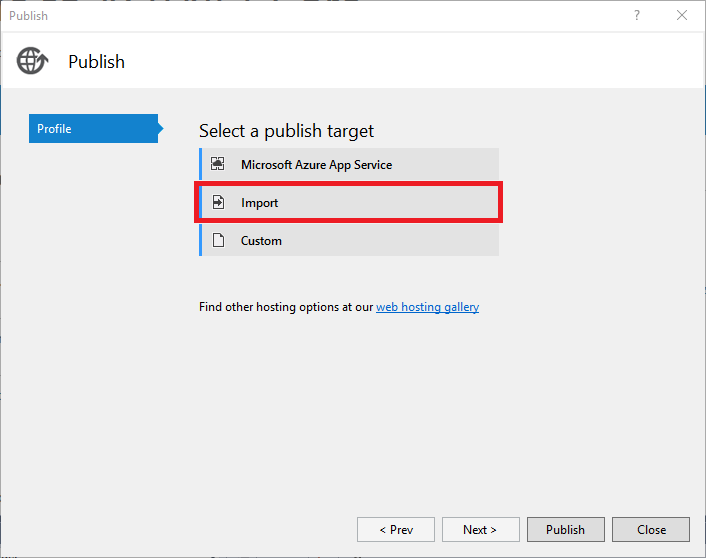
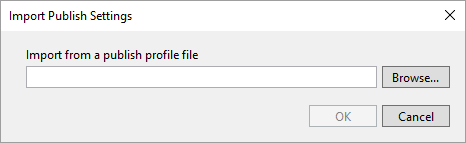
- Now in Visual Studio, go to Build -> Publish appname. In the Publish window that opens, select Import.
- Find the publish profile you downloaded earlier from our Control Panel and click on OK.
- In the Connection section, you’ll notice the fields are already pre-populated for you. You’ll need to make a slight modification to the Server field by appending this query string:
?site=domain-name.com
Replacing domain-name.com with the domain name associated with your hosting account. The full line should look something like this:
https://web###.discountasp.net:8172/MsDeploy.axd?site= domain-name.com
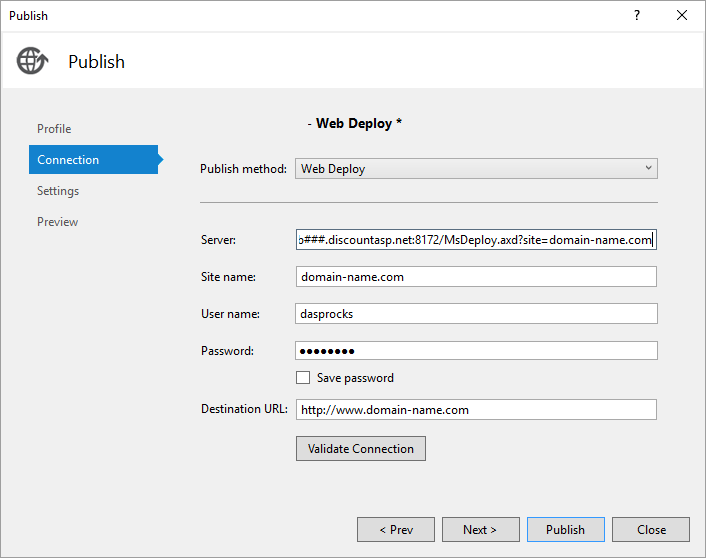
- Click on the Validate Connection button to make sure you get a green check mark. If you don’t, you can open a support ticket to have one of our staff members recycle the Web Management Service for you. Sometimes the Web Deploy service on the server gets “stuck” and recycling usually fixes the problem. At this point, you can go ahead and click Publish if you want. Clicking on Next will allow you to further refine some configuration settings before deploying.
Tips/A Few Things to Note
- Publishing to a sub-directory does not work at this time. That should be fixed in an upcoming update.
- If you’re having trouble publishing, double check that your antivirus/firewall is not blocking port 8172.
- ASP.NET Core 1.0 is only supported on our newer Windows 2012 R2 servers. If your hosting account is not on this platform, please open a support ticket to have it migrated. The migration process takes about 30 minutes unless you have a large number of files.
- If you’re having trouble getting your ASP.NET Core 1.0 application to work and don’t know where to begin to debug, make sure you enable error logging in the web.config file. Change the stdoutLogEnabled to “true” and create the directories that will store the log (e.g. “.\logs\stdout”). It is not enabled by default.
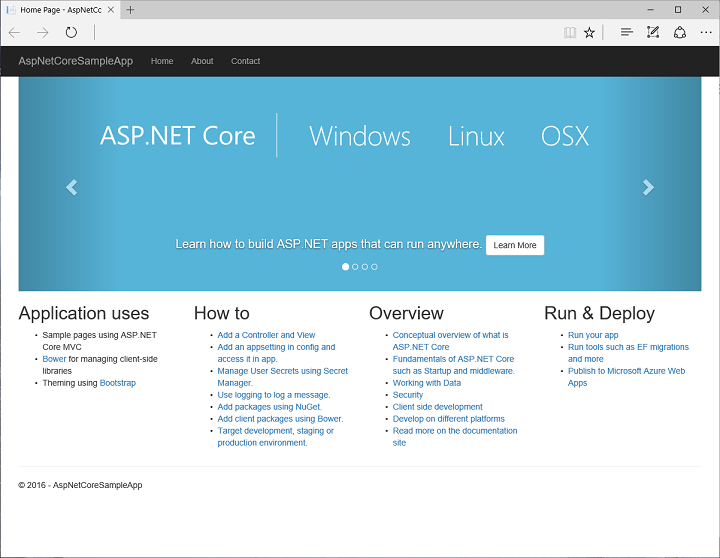
If all goes smoothly, your site will look something like this:
Worked like a charm. Good guide.
Also remember to change db connections
I’m having trouble publishing my site. All routes return Error 404 page not found. Everything seems to be in place on server. Any suggestions?