![]() In this tutorial we will be reinstalling WordPress after it’s been compromised or “hacked.” The tutorial assumes three things: 1) The MySQL database your WordPress site was using wasn’t compromised, 2) The WordPress files were the only thing modified, and, 3) You have no other web applications installed in your site’s root directory.
In this tutorial we will be reinstalling WordPress after it’s been compromised or “hacked.” The tutorial assumes three things: 1) The MySQL database your WordPress site was using wasn’t compromised, 2) The WordPress files were the only thing modified, and, 3) You have no other web applications installed in your site’s root directory.
These instructions are specifically for WordPress installations running on IIS, but you can use the same basic steps to reinstall WordPress on any platform.
Quick overview of the steps we’re about to take
- Creating a two different directories locally on your computer.
- One containing your hacked WordPress site.
- The other containing your clean WordPress site.
- Before changing anything we will be making a backup of your current WordPress site by downloading it via FTP. Yes, the current compromised WordPress site.
- Downloading a clean copy of WordPress
- Re-downloading your themes folder
- Re-downloading your plugins folder
- Copying your web.config and wp-config.php files from the old WordPress site to the root directory of your clean WordPress site
- Restoring your images/upload files
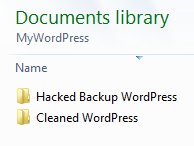
Step 1 – Create two different directories on your computer
Create two different empty directories on your local computer.
Step 2 – Create a backup of your hacked WordPress Site
First you will need to establish an FTP connection to your site. Instructions on how to connect to your site via FTP can be found in this knowledge base article.
Once the FTP connection has been made, navigate to your local directory within FileZilla where you wish to place your backup.
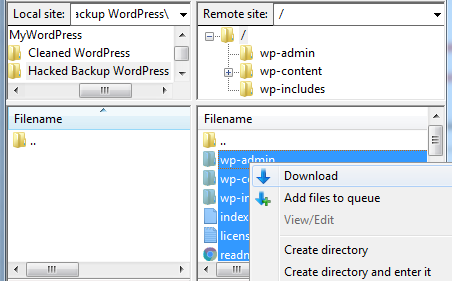
Highlight all of the files and directories within your WordPress site and right click on Download to copy them to your local environment.
Important: We’re putting the files here for safe keeping, don’t open any of the files unless specified in this article.
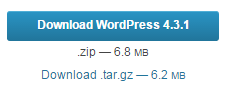
Step 3 – Download a clean copy of WordPress
Go to WordPress Downloads and download the zip file.
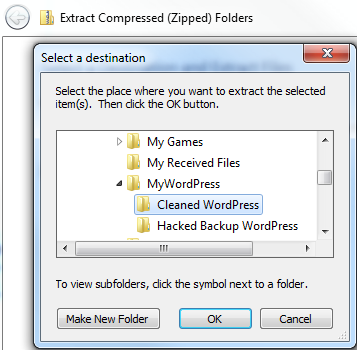
Next you want to extract the clean files to the clean folder directory on your local computer.
Step 4 – Re-Download your theme files
Everyone uses a different theme for their WordPress site, so everyone’s case is going to be unique. If you remember where you downloaded your theme then go ahead and download it from the source and and skip to section Step 4 B.
Step 4a.
If you are unsure which theme you were using, navigate your \wp-content\themes directory in the hacked backup WordPress files.
WARNING: Don’t use the theme from the hacked WordPress site, it’s important to download a new copy from the source.
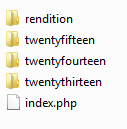
Within the \wp-content\themes\ directory you will see different directories. You will most likely see some of the default themes that come with WordPress:
- Twentyfifteen
- Twentyfourteen
- Twentythirteen
But the other themes that are located in the \wp-content\themes\ directory will be the themes you downloaded for your WordPress site before it was compromised.
In my case I forgot the name of the theme I was using. From the list I see in the \wp-content\themes\ directory I can see that I was using the “rendition” theme.
 My next step was to Google “rendition wordpress theme,” and I was able to locate the source of the theme.
Step 4b
Download and extract the clean theme files into the clean WordPress directory locally on your computer.
Once you have downloaded the zip copy of your theme locally on your computer, extract it to a location where you can simply copy and paste the clean theme into the \wp-content\themes\ directory within the clean copy of your WordPress file structure.
Step 5 Re-download your plugins
The plugins folder will be in the \wp-content\plugins directory.
If you don’t recall which plugins you had installed, you can always go into the hacked WordPress file structure to see which plugins were installed.
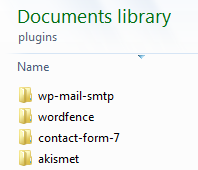
Make a list of the plugins you need to download and download them manually from the WordPress plugins site.
Extract the clean plugins you just downloaded into an empty file on your computer.
Copy and paste them into the clean copy of the WordPress site’s \wp-content\plugins directory.
Step 6 Copy web.config & wp-config.php file
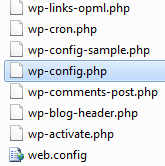
We have to copy and paste the old web.config and wp-config.php file into the clean copy of the WordPress site’s root directory.
The web.config file contains the URL Rewrite rules for your WordPress permalinks links to work correctly on the IIS server.
The wp-config.php file contains the settings needed to reestablish a MySQL database connection to the original MySQL database.
Go to the hacked WordPress site root directory where your wp-config.php file is located and open it in a text editor like Notepad. You want to check for malicious code that you don’t recognize. Basically, you just want to make sure your old wp-config.php file is clean. You can compare it against the sample wp-config.php file. If you’re not sure what it’s supposed to look like. You can always check the clean version by checking the Github sample page of the wp-config file.
Once you have confirmed it’s clean, you’re going to want to change the password for your MySQL database.
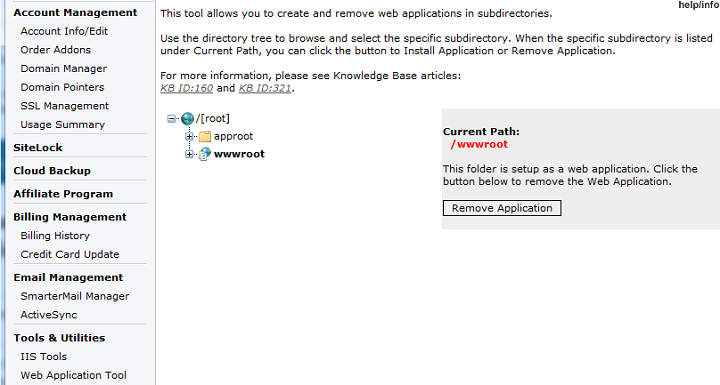
Log into Control Panel and change the password for your MySQL database within the MySQL Manage section:
Click Manage next to the MySQL database.
Click Update Password.
Next you’re going to need to update the following line in your wp-config file with the new password.
Look for:
define(‘DB_PASSWORD‘, ‘OLD_password_here‘);
Replace it with:
define(‘DB_PASSWORD‘, ‘New_Password_Here‘);
Save the wp-config.php file and place it into the root directory of your clean copy of WordPress.
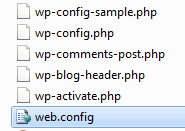
Next you want to simply copy and paste your old web.config file from the compromised WordPress site to the root of the clean WordPress site. web.config is not a file targeted in the typical WordPress compromise, so it’s usually safe to use the old version. You may want to take a look at it in any case, just to make sure it hasn’t been altered.
Step 7 – Delete your old WordPress files and upload the clean WordPress site
Connect to your site via FTP and delete everything from the root of the site.
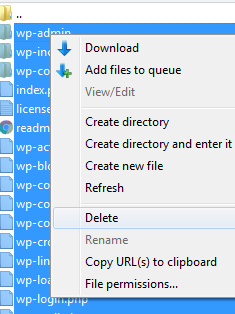
You want to make sure you have an empty root since you will be uploading a clean copy of your WordPress site.
Once your root directory is clean go ahead and upload the clean copy of the WordPress site located on your local computer to the root of the site.
Your site should work now. Visit the site to verify that you did everything correctly.
Step 8 – Restore your old image and upload files
The last step is restoring your image files from your old installation of WordPress to your clean WordPress site.
First, browse your site to make sure you don’t have any missing images. If you do find that some images aren’t displaying correctly, you can use Google Chrome’s Developer tools to troubleshoot. By using the network tab you can see which images are missing and which directory they need to be uploaded to.
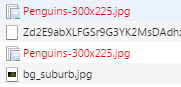
Once you find the image that is missing in the copy of your hacked WordPress backup, you can upload each image one by one.
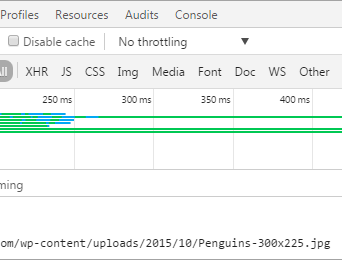
In the image above we can see where our missing image file will need to go into our file directory structure. Simply locate the missing file from your compromised site backup and upload it via FTP to your clean site.
Done!
An important next step is to make sure you update any outdated plugins and themes from within your WordPress admin section. You should also update the password for your WordPress admin user.