 Since we launched Team Foundation Server 2012, I’ve been seeing a lot of questions regarding Eclipse and the Team Foundation Server plug-in that range from general configuration to licensing and I thought I’d take some time to get a post up to for clarification. Let me go over the licensing model and then you can continue through the article for the set-up guide.
We formally contacted Microsoft to get clarification on licensing and here’s what we’ve discovered and understood. In a typical in-house environment, in order to use Team Explorer Everywhere, you would need a client access license but in a hosted environment, you need a subscriber access license which is included for every user license that we offer as a services provider. Simply put: Feel free to use Team Explorer Everywhere against our servers without worrying about the licensing.
Now, just to make sure that everything’s covered, I’ll be going over a step-by-step guide on installing and configuring Eclipse on a Windows 7 workstation and for this example, you’ll need to download or install the following:
* Java SE Runtime Environment
* Eclipse Classic
I’d also recommend reviewing the requirements list at MSDN for the Team Foundation Server Plug-in for Eclipse before proceeding.
Let’s go over all of the steps.
1. If it’s not already available on your system, install the Java runtime.
2. Next, extract Eclipse Classic.
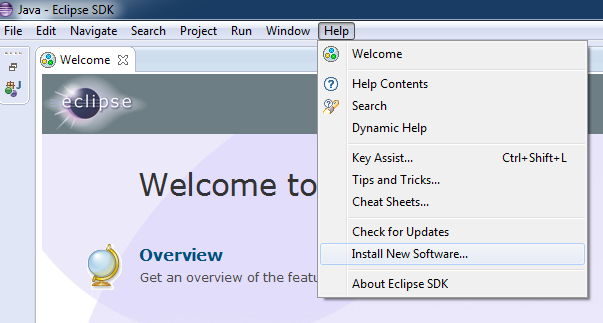
3. Launch Eclipse and then go to: Help > Install New Software…
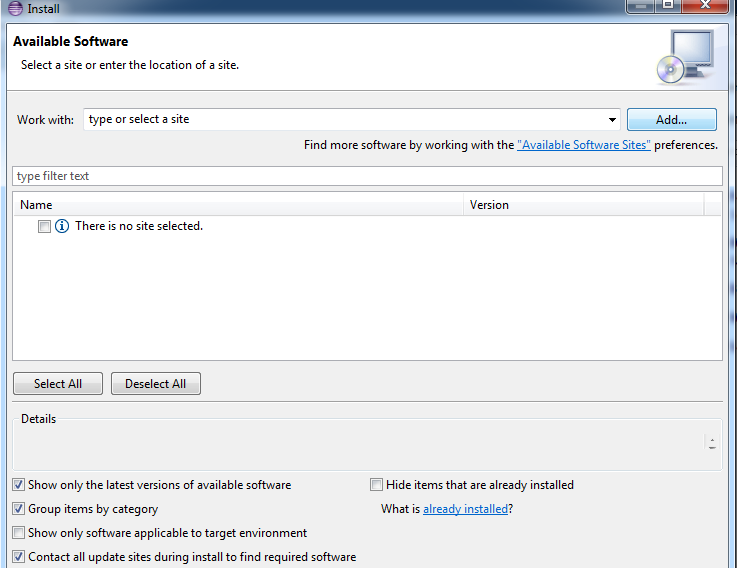
4. From the Install window, click the Add… button.
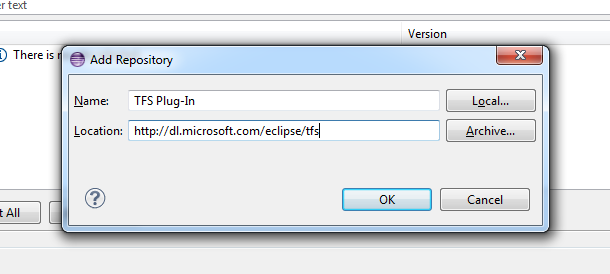
5. Now, from the Add Repository window, supply the following values and then click the OK button:
* Name: TFS Plug-In
* Location: http://dl.microsoft.com/eclipse/tfs
6. Make sure that the resource that was just added is select in the Work with drop-down menu, check the Team Foundation Server Plug-in for Eclipse and then click the Next button.
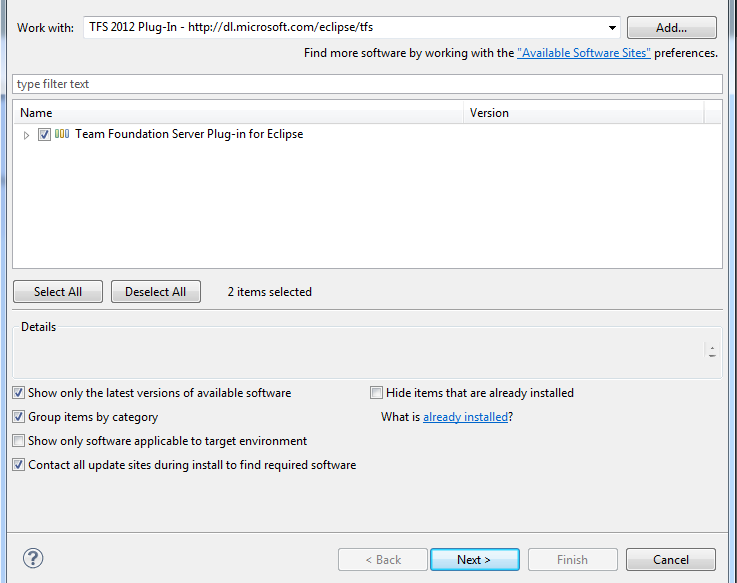
7. Review the items that will be installed and then click the Next button.
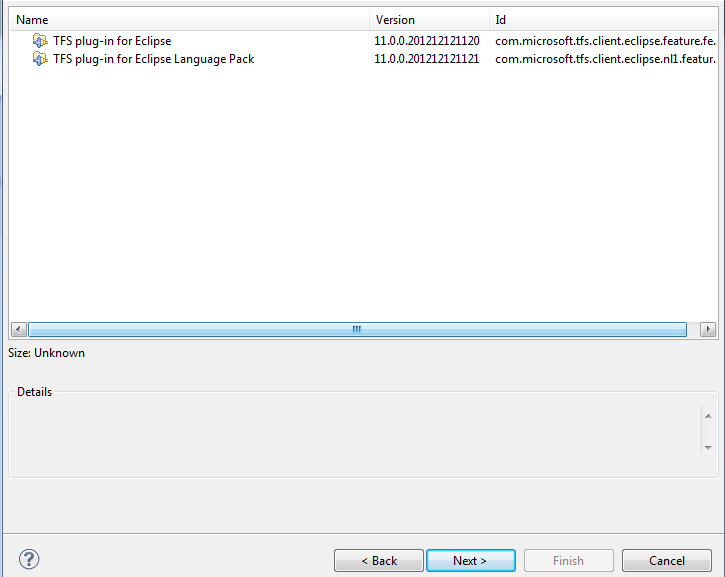
8. When you reach the licensing terms, click the Finish button.
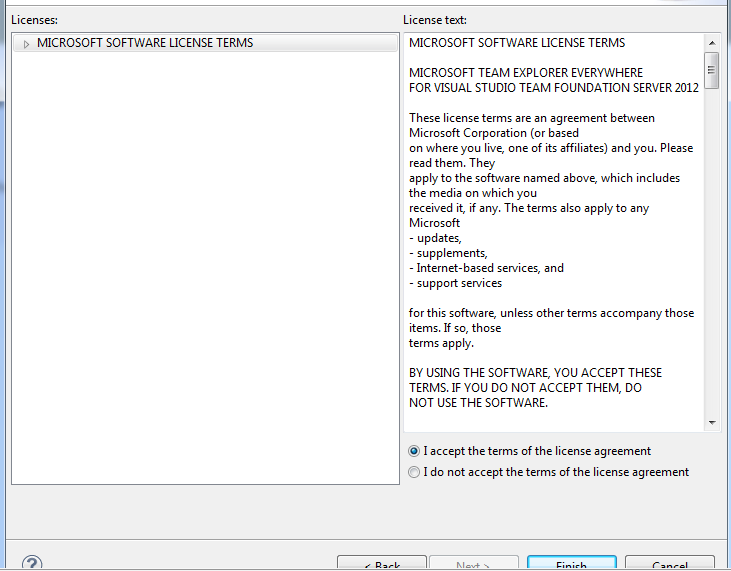
9. You should be prompted to restart Eclipse, click Yes.

10. Once Eclipse opens, go to: Windows > Open Perspective > Other…
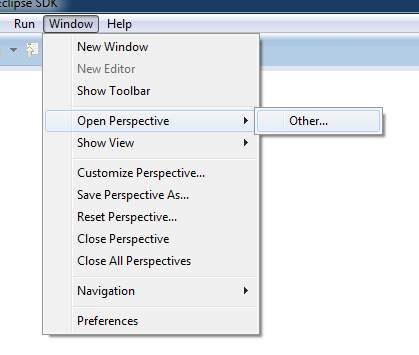
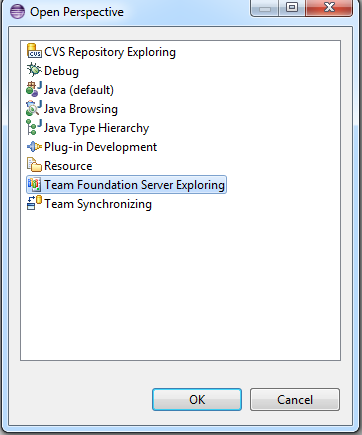
11. At the Open Perspective window, select Team Foundation Server Exploring and click the OK button to proceed.
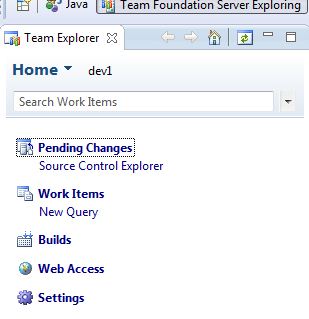
12. You’ll see the Team Explorer window available and then click on Connect to Team Foundation Server.

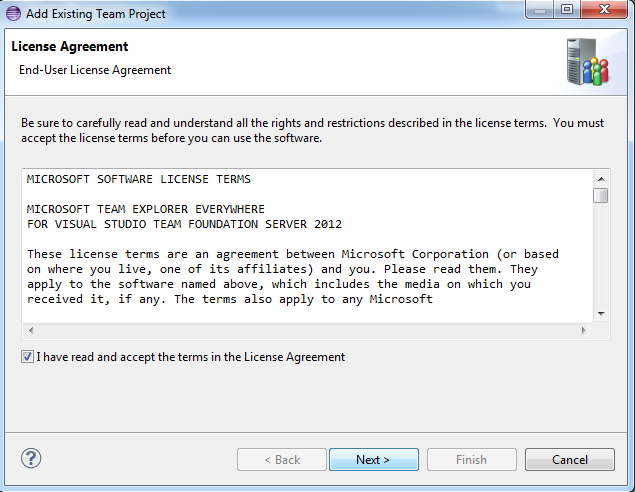
13. You’ll see another license agreement, make sure that you check I have read and accept the terms in the License Agreement and then click the Next button to continue.
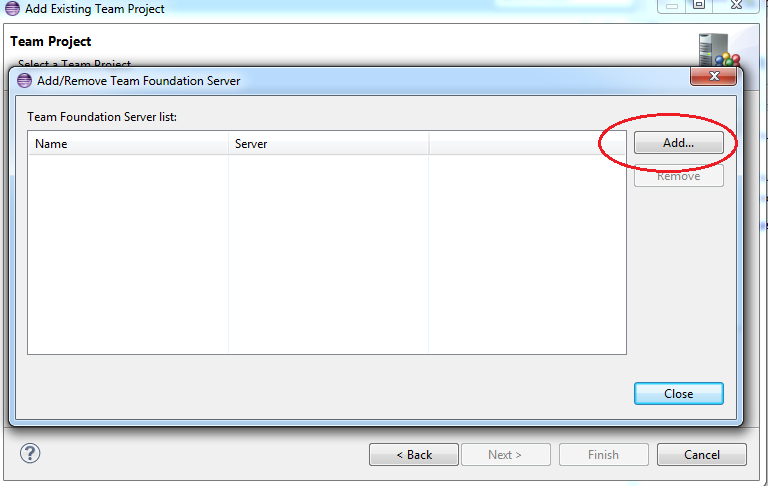
14. Click the Add… button from the Add/Remove Team Foundation Server menu.
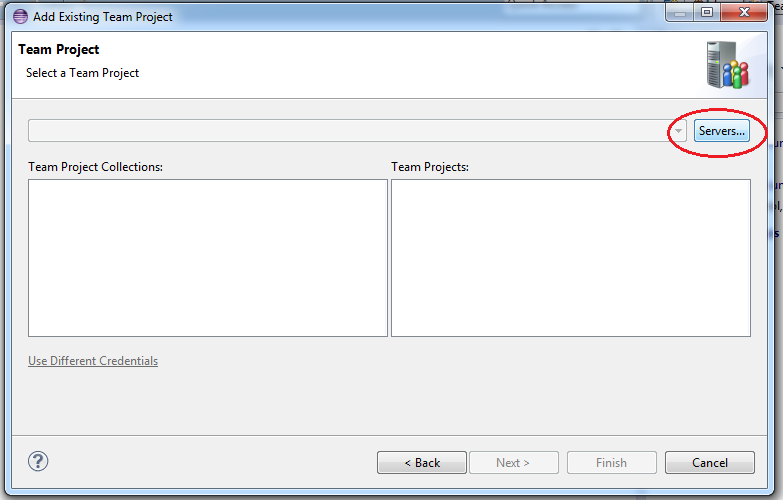
15. You’ll be taken to the Add Existing Team Project window where you’ll want to click the Servers… button.
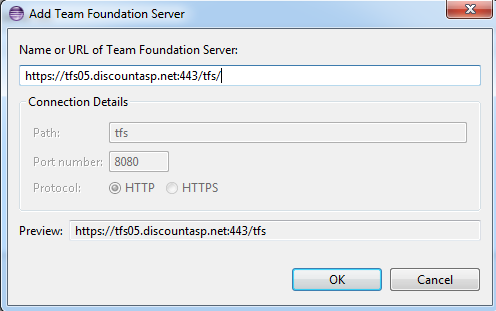
16. In the Name or URL of Team Foundation Server field, use: https://tfs05.discountasp.net:443/tfs/ and click the OK button.
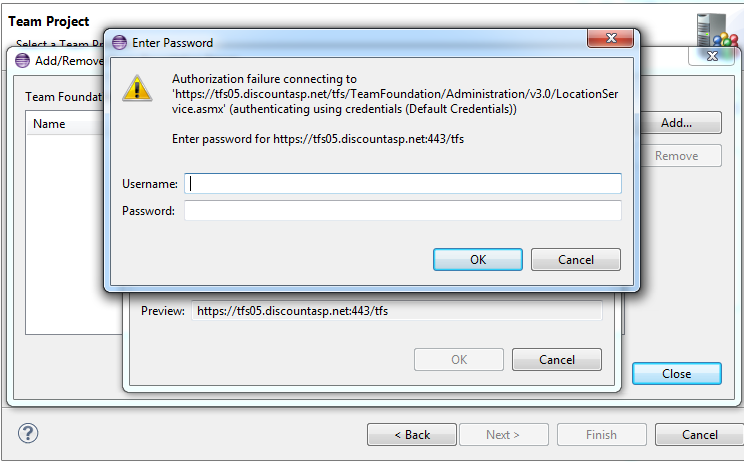
17. You’ll be prompted to authenticate and you can use your server credentials.
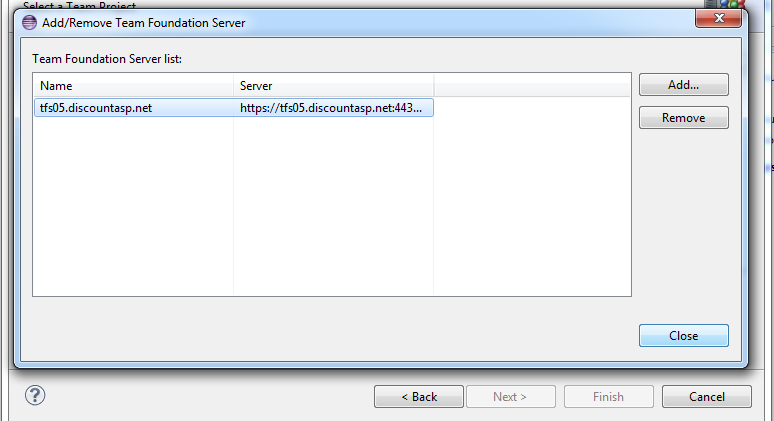
18. When you return to the Add/Remove Team Foundation Server window, the server should be available and you can click the Close button.
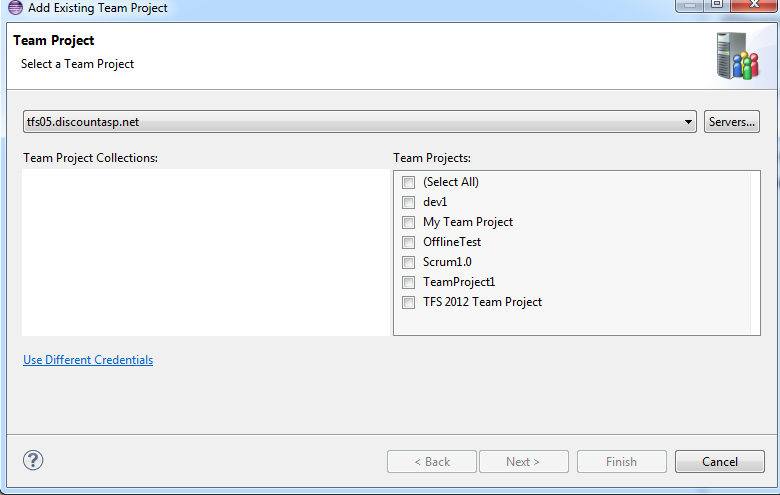
19. Next, at the Add Existing Team Project window, select your Team Project Collection, the Team Projects that you want to connect to and then click Next.
20. At the TFS Workspace step, you can choose to use an existing workspace or create a new one. To avoid any conflicts, I’ll go ahead and click the Add… button to create a new workspace.

21. I’ve created a new workspace called JoeEclipse — you can use any name that you’d like — and then click the Finish button.


