![]() Lately I’ve been evaluating some companies that offer email communication solutions and was introduced to SendGrid by a coworker. I found it offers a lot of great features to help someone reduce the time to create marketing emails, customer communication emails, newsletters, etc.
Lately I’ve been evaluating some companies that offer email communication solutions and was introduced to SendGrid by a coworker. I found it offers a lot of great features to help someone reduce the time to create marketing emails, customer communication emails, newsletters, etc.
SendGrid offers a free account that you can use to send 12,000 emails every month. You’ll need a SendGrid account for this tutorial, so if you don’t already have one, take a minute to set up an account now.
In many cases you can start using SendGrid very quickly simply by changing the SMTP connection string in your application to use SendGrid’s SMTP server. But in this post I will show you how easy it is to create emails from start to finish, highlighting a couple of the features SendGrid offers.
A Simple Contact Form
Here are instructions on how you can create a simple contact form and send the results to yourself using SendGrid’s API.
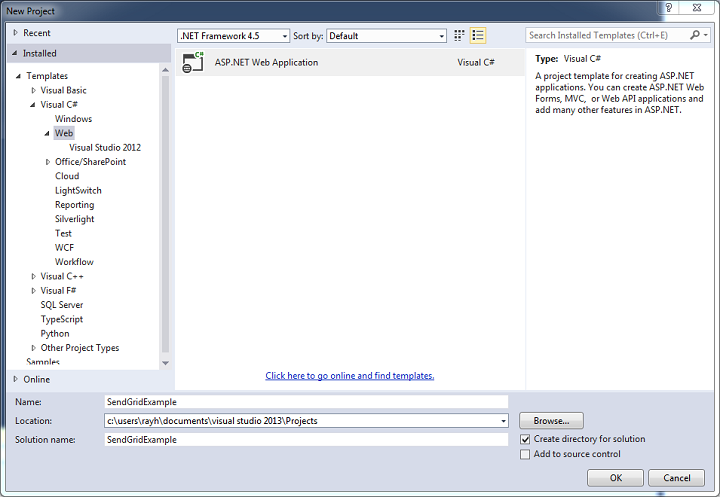
1) Startup Visual Studio (in this demo, I am using Visual Studio 2013 and C# for my example).
2) Select File -> New -> Project…

3) Select the Web template and give your project a name. In my example, I named it SendGridExample. Hit the OK button to continue.
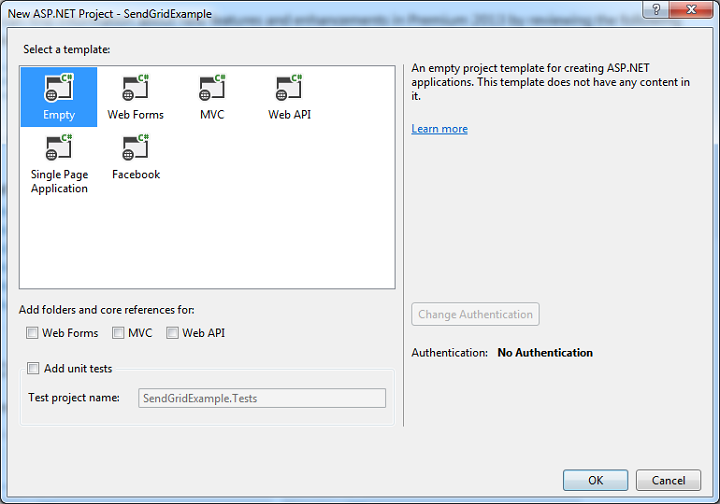
4) Select Empty template and hit OK.
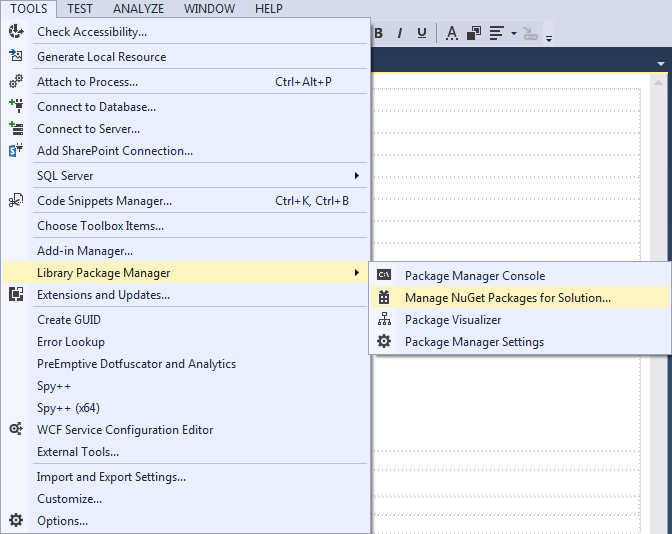
5) Add the SendGrid C# Library (or whatever programming language you prefer to use) using NuGet. Under Tools, select Library Package Manager -> Manage NuGet Packages for Solution…
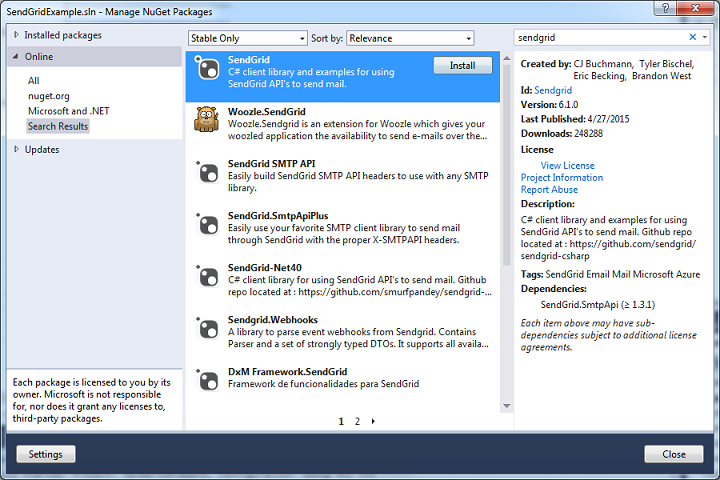
6) Select the Online menu item on your left and in the upper right search text box, type in “sendgrid”. Hit the Install button to install the library(ies) you need.
7) Now let’s add a Web Form for the project. Under Solution Explorer, right click on the project name and select Add -> Web Form.
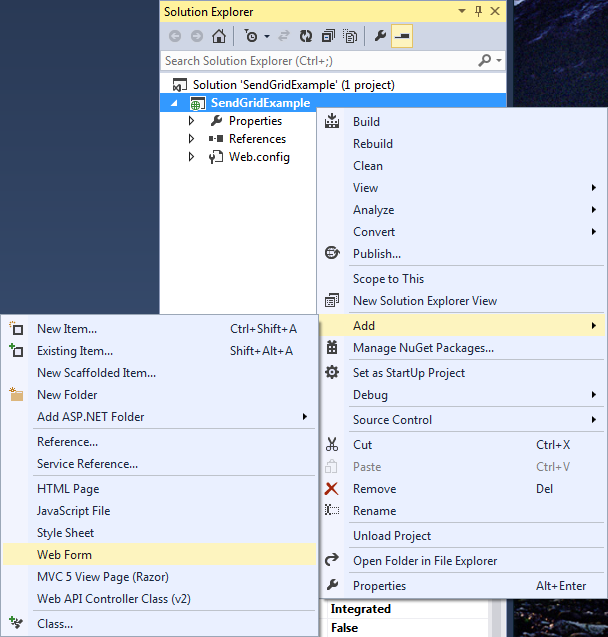
8) We’ll give the form a name like ContactUs.

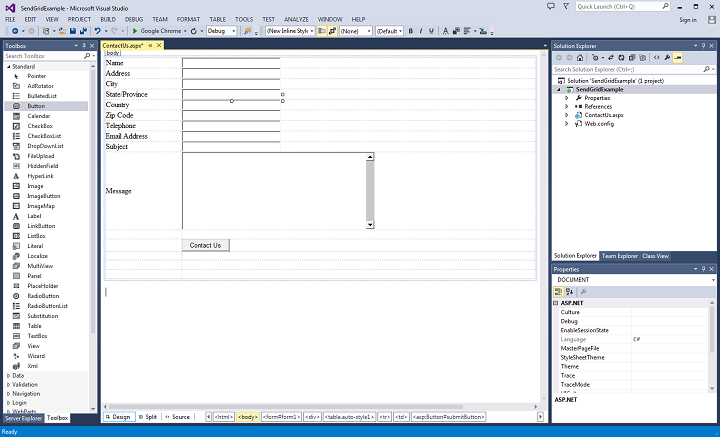
9) Now go to Design View and using the Toolbox on your left, create a form using tables, text boxes, and text and add a submit button (e.g. Contact Us) as shown below.
10) Double click on the Contact Us button to bring up the code behind (ContactUs.aspx.cs) file and in the submit button Click Event, paste and modify the code below to your liking. In this example, I am using SendGrid’s proprietary mail class, so you’ll need to add a using SendGrid statement to your list of includes at the top. If you prefer and want to simplify your code a bit, you can just use .NET’s built-in libraries (i.e. System.Net and System.Net.Mail) to compose the email instead, and we provide sample code here.
Both cases require the .NET mail libraries.
var message = new SendGridMessage();
List<String> recipients = new List<String>
{
  @"Contact <[email protected]>",
  @"Marketing <[email protected]>",
  @"Test <[email protected]>"
};
message.AddTo(recipients);
message.From = new MailAddress("[email protected]", "Contact Us Form");
message.Subject = subjectTextBox.Text;
message.Html += "<strong>Name</strong>: " + nameTextBox.Text + "<br />";
message.Html += "<strong>Address</strong>: " + addressTextBox.Text + "<br />";
message.Html += "<strong>City</strong>: " + cityTextBox.Text + "<br />";
message.Html += "<strong>State/Province</strong>: " + stateTextBox.Text + "<br />";
message.Html += "<strong>Country</strong>: " + countryTextBox.Text + "<br />";
message.Html += "<strong>Zip Code</strong>: " + zipCodeTextBox.Text + "<br />";
message.Html += "<strong>Telephone</strong>: " + telephoneTextBox.Text + "<br />";
message.Html += "<strong>Email Address</strong>: " + emailAddressTextBox.Text + "<br /><br />";
message.Html += messageTextBox.Text;

var credentials = new NetworkCredential("apikey", "API_Key");

var transportWeb = new Web(credentials);

transportWeb.DeliverAsync(message);

Response.Redirect("ContactSuccess.html");
SendGrid recommends that you create and use an API key to authenticate and send email, but you can also use your SendGrid username and password. If you use the API key, use “apikey” for the SMTP username.
11) That’s it. Press F5 to build and test your code.
A Marketing Email or Newsletter
SendGrid offers a wide variety of features that allow you create, manage, and perform analysis on marketing emails or newsletters such as Click Tracking, Google Analytics, Open Tracking, and Subscription Tracking just to name a few. I’ll demonstrate some of these features in the program below.
1) In the same project, add a new web form and name it SendNewsLetter. Open the code behind file and in the Page_Load Event Handler, paste and/or modify the following code to your liking.
var message = new SendGridMessage();
List<String> recipients = new List<String>
{
  @"Contact <[email protected]>",
  @"Marketing <[email protected]>",
  @"Test <[email protected]>"
};
message.AddTo(recipients);
message.From = new MailAddress("[email protected]", "Postmaster");
message.Subject = "November ACME Newsletter";
message.Html += "Here is your ACME Newsletter for the month of November.  We have a number of exciting deals this month<br /><br />";
message.Html += "ACME Toy Cars are now just $29.99 and will make a great gift for kids for the holidays.<br /><br />";
message.Html += "ACME Christmas Trees ornaments, only $59.99 for a box of 20.  Click <a href=\"http://www.troubleshootingcenter.com\">here</a> for more details.<br /><br />";

var username = "sendgridusername";
var password = "sendgridpassword";
var credentials = new NetworkCredential(username, password);

var transportWeb = new Web(credentials);

transportWeb.DeliverAsync(message);

Response.Redirect("ContactSuccess.html");
2) Now go to your SendGrid Account, expand the Settings node on the menu to your left, and click on Tracking. Enable Click Tracking, Open Tracking, and Subscription Tracking. If you notice in the code above, I’ve added an HTML link to a webpage. Click Tracking will track if the user clicks on that link which is embedded into your newsletter. Open Tracking will track if a user opens an email, and Subscription Tracking will automatically add a unsubscribe link to your email so that it complies with the CAN-SPAM Act. The beauty of these features is that no extra coding is needed to implement them. SendGrid automatically does that for you with the flip of a switch. Hit F5 to build and test the code. Once you receive the email, try clicking on the HTML and Unsubscribe links and proceed to the next steps.
![]()
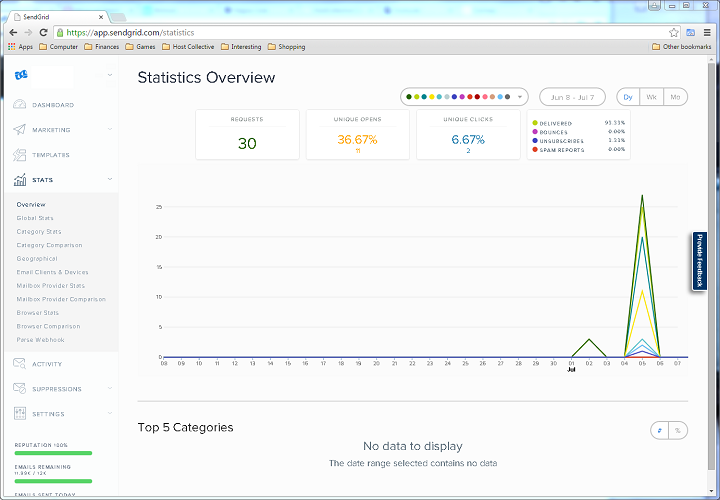
3) To check if someone has clicked on a link in your newsletter or unsubscribed, just go to the Dashboard or click on the Stats menu item.
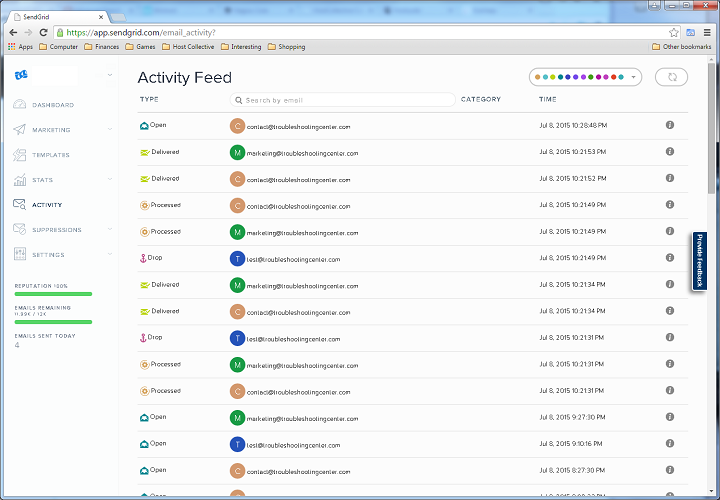
4) To check the status of an email such as Delivered, Opened, etc. click on the Activity menu item.
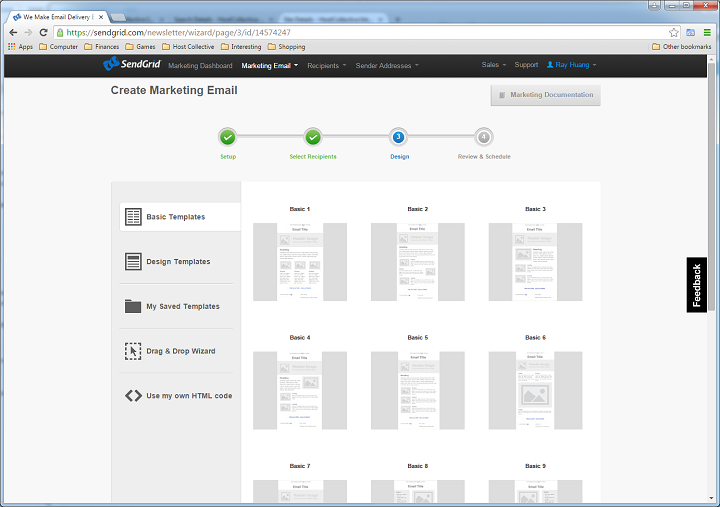
5) That’s it for these features. You can use these tools (and combine them with others offered) to help you gauge the effectiveness of your marketing campaign and customer engagement and make adjustments if need be to improve your program. If you’re not a developer and find coding hard to understand, then you’re in luck. SendGrid provides a Marketing Email wizard and WSIWYG interface with templates to help you draft very professional looking marketing emails.
Other features you will want to explore include white labeling, alerts, spam checking, and webhooks. Using SendGrid, you can fine tune your marketing campaigns to get a better ROI.
Sendgrid has improved their marketing emails solutions a bit. but fundamentally they are focused on deliver ability and performance. They are certainly leaders in that.
This is very helpful. I’ve been looking for such tutorial, thanks a lot.
I have already moved on from Send Grid… just NOT user-friendly. I have no clue AFTER being with Aweber for 14 years how any other service works.