 I got my Samsung Galaxy S II Skyrocket a while back. The phone itself is great, but as with any powerful device, utilizing all of the available capabilities can require a bit of setup.
In order to access your web site’s email server from your phone, follow the steps below.
1. Turn on the power and boot to your home screen.
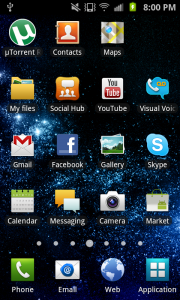
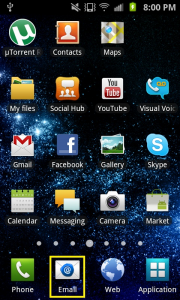
2. Press the Email button, located near the bottom left of the screen.
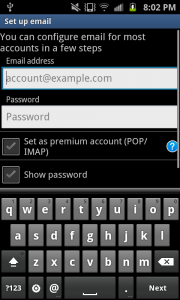
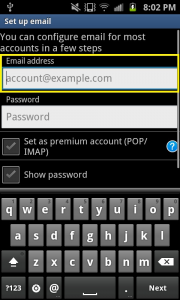
3. If you don’t have an account previously setup, you will be prompted for your email user details now.
If you have an existing account already, press the account name box located on the top left, then the settings icon on the bottom left in your home bar. Finally, select add account.

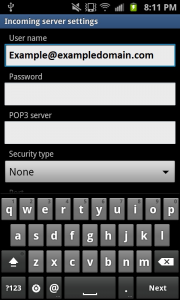
4. Enter your email address in the email address box.
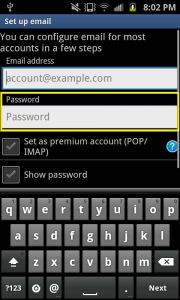
5. Enter the password associated with your email address in the password box.
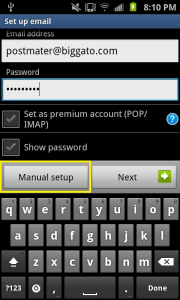
6. Select Manual Setup
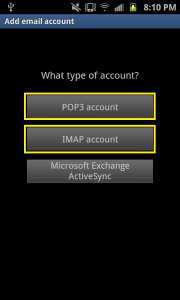
7. Choose the type of incoming server you would like, POP3 or IMAP.
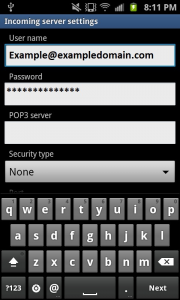
8. Change your User Name to the correct format for DiscountASP.NET, i.e.; [email protected].
9. Enter the password associated with the email account.
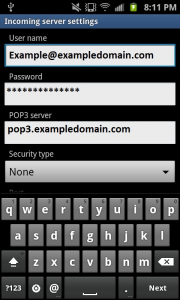
10. Enter your incoming email server – I used POP3 – into the server box.
11. Select Next.
12. Verify that your SMTP server is correct, and in the correct format for DiscountASP.NET, i.e.; smtp.YourHostedDomainName.com.
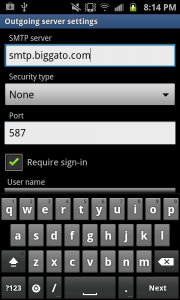
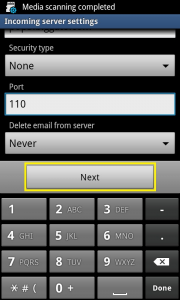
13. Leave None as the security type.
14. I like to use port 587.
15. For Require sign-in, leave the box checked.
16. Verify that your username is in the correct format for DiscountASP.NET, i.e. [email protected]
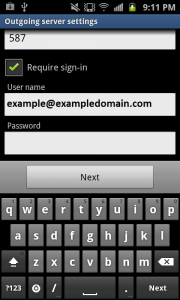
17. Enter the password associated with email address in the password box.
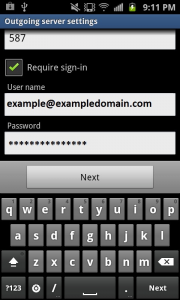
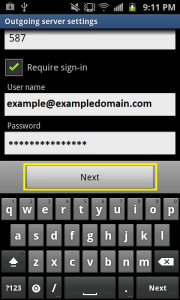
18. Select Next.
19. Select the frequency you would like your mobile device to check for emails, I didn’t want to be too much of a bother so I chose a moderate every 30 minutes.
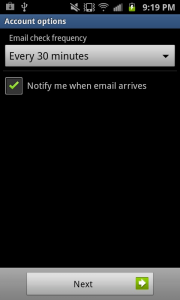
20. Check/Uncheck if you would like to be notified of new emails. I didn’t want to be left in the dark so I checked this box.
21. Select Next.
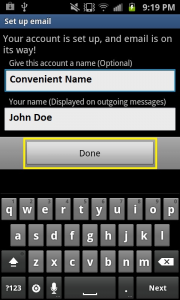
22. Choose a name to be associated with the account, and a name to display on outgoing mails.
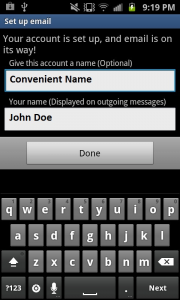
23. Select Done.
24. Congratulate ourselves!
Now we are ready to access our web site’s email wherever and whenever.